Kiki Interiors - Decor and Staging

Wednesday, June 8, 2016

We Answer Wednesday - Painting a Brick Fireplace

"I have a brick fireplace in my living room. It's a bit dated and I really want it to look more modern and I'm on a tight budget. What can I do?"

A fireplace is a wonderful focal point in a living room and it is such a great feature to have on those crisp fall evenings and cold winter days.  Some brick fireplaces can look dated but they can also look dark and heavy (depending on the brick style and colour) and that can have a negative effect on your room.  Plus the brick fireplace may not totally jive with your personal style but there is an easy and very affordable solution that you could finish is just one weekend.

Try paint.

OK, don't get nervous.  Paint can do amazing things for a room - you have likely experienced this first hand on your walls but it can make the same magic on your brick fireplace.  We've done it!

warm gray with bright white details look good with the floor, which is like yours!:

You have a few options in terms of technique and look.

White washing your brick - so this is actually what Kristi did in her home.  She had about 2/3 of her living room wall covered in heavy deep red brick - it made the room look so dark and heavy. The white wash technique doesn't mean you have to use white paint.

What you do is you water down the paint a bit so that you have less surface coverage.  Why would you want less surface covered? If you like a more rustic look and you like the texture of the brick and want some of the brick tones to pop through - this is the technique you want.

Great tutorial on white washing a brick fireplace. Great option if you want to change or update existing brick without painting it the traditional white, gray, or black:

Make it pop! - So maybe you want to stand out from the crowd and make a splash.  If that sounds more like your style, painting your brick in a tone that makes it stand out .  We are liking neutral tones like charcoal grey, deep blues and even black.  This might sound boring but it isn't - it's basically turning your fireplace into an accent wall.  Plus if you stick pretty neutral you can switch up your decor as often as you like without the obstacle of a crazy colour fireplace.

The painted brick fireplace is the focal point of the living room.:

Keep it clean -  make your room look even bigger by blending that fireplace in.  So paint the fireplace brick the same colour as the walls.  We love this look with a reclaimed wood mantle (like the image below).  This look so clean and fresh. You fireplace is still a focal point - the mantle and the heath still draw the eye in but the room looks so light and large. 

5 Places To Add Natural Accents At Home:


Match your trim - matching your trim is another great option - this will give you a cohesive look, lighten up the appearance of the fireplace and freshen up the whole room. If you prefer a deeper tone on the wall this is also a great option as you get the great colour on the wall and you get the clean look of the painted fireplace.

A 1937 Craftsman Home Gets a Makeover, Fixer-Upper Style | HGTV's Fixer Upper With Chip and Joanna Gaines | HGTV:


Before you paint - things to consider:
- Be sure you want to paint the brick as removing paint isn't easy
- Take a look at the condition of your brick - if it is chipping, crumbling, or other damage, painting isn't a good idea (get an expert to take a look at the fireplace - there could be other issues)
- Clean your brick with basic water and soap and let it dry before painting
- Use a good quality paint with a primer (ask an expert)

Labels: , , , , , , , , ,

Saturday, March 22, 2014

Ombre - A Cool and Fresh Look for Your Walls and more

So we are still seeing lots of people decorating with accent walls.  We have all seen the bold colour accent walls (red walls were hugely popular) and then the neutral colour accent walls (like a chocolate brown or a charcoal) and then wall paper accent walls ...if you love an accent wall take a look at what is trending this season - Ombre Accent Walls.  The Ombre look is something we have seen a lot in fashion in both hair and clothing and now we are seeing it in home decor.  The Ombre wall is a fresh look and the colour choices are endless you can opt for a bold colour option or a neutral shade or blending two different shades like pink and grey or blue and grey.


Laurie-March-pink-ombre-bedroom-wall_s4x3

Here's what you need:

Paint Colors (for a grey and pink ombre wall like the image above)
  • One gallon of gray
  • One gallon of salmon pink
  • One gallon of light gray
Supplies
  • Tape measure
  • Paint roller
  • Paint tray and liners
  • Wide paintbrush


Get Started: Paint and Blend


Paint a Base Coat
For best results, wipe down or dust the wall you are going to paint. Choose the lightest shade of paint and begin by painting the entire wall this color. Don't skip this step: This will give your other colors a fresh base of paint to go over, making a smooth, even surface for blending. Let it dry.
Divide the Wall Into Sections
To achieve an ombre look, measure three equal sections on your wall and mark lightly in pencil. The top section will be the lightest color. The darkest color goes at the bottom, leaving the third color for the center.
Start With Medium in the Middle
Paint the middle section with the second-lightest color, leaving 6" of room between the edges of each section. In a timely manner, hold a dry brush at a 45 degree angle to blend.
Apply the Darkest Hue at the Bottom
Paint the darkest hue at the bottom of the wall, leaving a foot between color sections.
Mix the First New Color
In a fresh paint liner, mix your lightest color and your middle shade at a ratio of half and half. Use this first new color blend to paint the 6" gap between the lightest and middle color. Taking a dry brush and holding it at an angle, quickly blend up until you meet the next color section.


Laurie-March-ODOC-gray-ombre-wall-blend-no-resize_s4x3


Mix the Second New Color
In a fresh paint liner, mix your darkest color and your middle shade at a ratio of half and half. Use this second new color blend to paint the 6" gap between the darkest and middle color. Taking a dry brush and holding it at an angle, quickly blend up until you meet the next color section. Continue to brush the three sections together until you achieve the level ombre you desire.

Your new ombre look can be on furniture too, like this great dresser

best ikea hacks. Take a paint swatch, ask for samples of each shade. Paint cheap Ikea dresser.


You could do this colour blocking look in a ombre palette on a wall too, you wouldn't need to blend the paints but you would need to tape the portions before hand, so you will need good painter's tape and a level for straight lines.


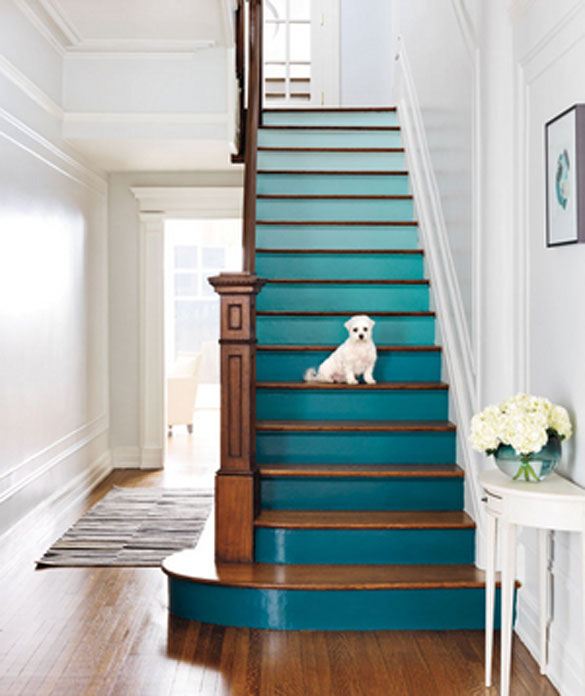
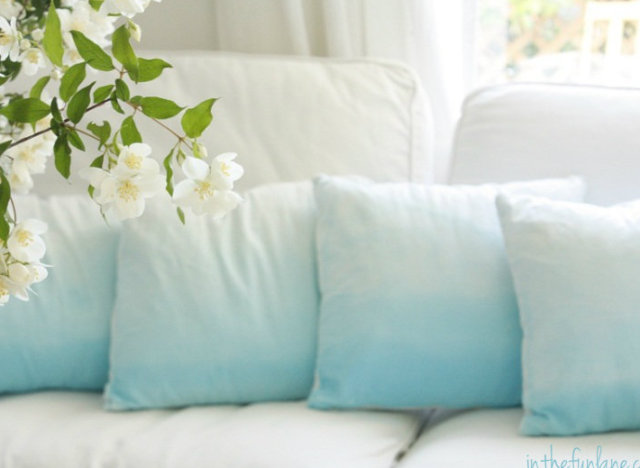
 With ombre the possibilities are endless - furniture, walls, art, bedding, rise of the stairs, pillows and even the spindles.


Labels: , , , , , , , , ,

<data:blog.pageTitle/>

This Page

has moved to a new address:

http://kikiinteriors.com

Sorry for the inconvenience…

Redirection provided by Blogger to WordPress Migration Service