Ombre - A Cool and Fresh Look for Your Walls and more
So we are still seeing lots of people decorating with accent walls. We have all seen the bold colour accent walls (red walls were hugely popular) and then the neutral colour accent walls (like a chocolate brown or a charcoal) and then wall paper accent walls ...if you love an accent wall take a look at what is trending this season - Ombre Accent Walls. The Ombre look is something we have seen a lot in fashion in both hair and clothing and now we are seeing it in home decor. The Ombre wall is a fresh look and the colour choices are endless you can opt for a bold colour option or a neutral shade or blending two different shades like pink and grey or blue and grey.

Here's what you need:

Here's what you need:
Paint Colors (for a grey and pink ombre wall like the image above)
Paint a Base Coat
For best results, wipe down or dust the wall you are going to paint. Choose the lightest shade of paint and begin by painting the entire wall this color. Don't skip this step: This will give your other colors a fresh base of paint to go over, making a smooth, even surface for blending. Let it dry.
Divide the Wall Into Sections
To achieve an ombre look, measure three equal sections on your wall and mark lightly in pencil. The top section will be the lightest color. The darkest color goes at the bottom, leaving the third color for the center.
- One gallon of gray
- One gallon of salmon pink
- One gallon of light gray
- Tape measure
- Paint roller
- Paint tray and liners
- Wide paintbrush
Get Started: Paint and Blend
Paint a Base Coat
For best results, wipe down or dust the wall you are going to paint. Choose the lightest shade of paint and begin by painting the entire wall this color. Don't skip this step: This will give your other colors a fresh base of paint to go over, making a smooth, even surface for blending. Let it dry.
Divide the Wall Into Sections
To achieve an ombre look, measure three equal sections on your wall and mark lightly in pencil. The top section will be the lightest color. The darkest color goes at the bottom, leaving the third color for the center.
Start With Medium in the Middle
Paint the middle section with the second-lightest color, leaving 6" of room between the edges of each section. In a timely manner, hold a dry brush at a 45 degree angle to blend.
Mix the First New Color
In a fresh paint liner, mix your lightest color and your middle shade at a ratio of half and half. Use this first new color blend to paint the 6" gap between the lightest and middle color. Taking a dry brush and holding it at an angle, quickly blend up until you meet the next color section.

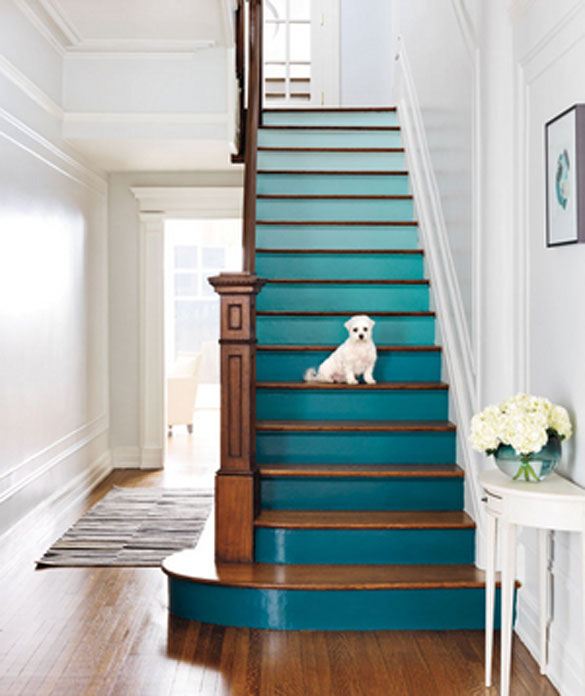
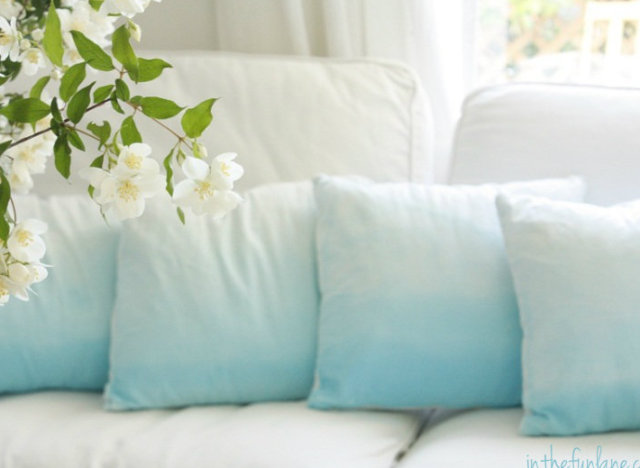
With ombre the possibilities are endless - furniture, walls, art, bedding, rise of the stairs, pillows and even the spindles.


Paint the middle section with the second-lightest color, leaving 6" of room between the edges of each section. In a timely manner, hold a dry brush at a 45 degree angle to blend.
Apply the Darkest Hue at the Bottom
Paint the darkest hue at the bottom of the wall, leaving a foot between color sections.
Paint the darkest hue at the bottom of the wall, leaving a foot between color sections.
In a fresh paint liner, mix your lightest color and your middle shade at a ratio of half and half. Use this first new color blend to paint the 6" gap between the lightest and middle color. Taking a dry brush and holding it at an angle, quickly blend up until you meet the next color section.

Mix the Second New Color
In a fresh paint liner, mix your darkest color and your middle shade at a ratio of half and half. Use this second new color blend to paint the 6" gap between the darkest and middle color. Taking a dry brush and holding it at an angle, quickly blend up until you meet the next color section. Continue to brush the three sections together until you achieve the level ombre you desire.
Your new ombre look can be on furniture too, like this great dresser

You could do this colour blocking look in a ombre palette on a wall too, you wouldn't need to blend the paints but you would need to tape the portions before hand, so you will need good painter's tape and a level for straight lines.

In a fresh paint liner, mix your darkest color and your middle shade at a ratio of half and half. Use this second new color blend to paint the 6" gap between the darkest and middle color. Taking a dry brush and holding it at an angle, quickly blend up until you meet the next color section. Continue to brush the three sections together until you achieve the level ombre you desire.
Your new ombre look can be on furniture too, like this great dresser

You could do this colour blocking look in a ombre palette on a wall too, you wouldn't need to blend the paints but you would need to tape the portions before hand, so you will need good painter's tape and a level for straight lines.

With ombre the possibilities are endless - furniture, walls, art, bedding, rise of the stairs, pillows and even the spindles.


Labels: accent walls, DIY accent walls, DIY home decor, fresh looks for the home, home decor for spring, home decor ideas, kiki interiors, ombre walls, paint techniques, unique accent walls

0 Comments:
Post a Comment
Subscribe to Post Comments [Atom]
<< Home