Kiki Interiors - Decor and Staging

Sunday, November 23, 2014

Step-by-Step (professional) Tips : How to Decorate Your Christmas Tree

We took some time just  before the holiday season to talk to experts to get the best step-by-step tips on How To Decorate Your Christmas Tree this year.  Before you start think about the overall look you want, check out sites like Pinterest for ideas.  A white tree can be very funky or elegant depending on the choice of ornaments and colour theme.  Do you have high ceilings? A 9' ft tree might be a perfect fit for the room.  There is so much selection of Christmas decor nowadays the possibilities are truly endless.


Step 1: Make sure you like the placement of the tree, it could be tricky to move it later. Fluff the tree (if artificial) and add lights (if your tree isn’t pre-lit).
Keep the lights on while decorating the tree. Add the tree skirt now, so you don't knock any of the decor off later


Step 2: Add the garland.
*Start about 1/5th the way down from the top of the tree.
*Use floral wire to attach the garland or twist branches together if the tree is artificial. If you want to keep it super simple, look for ribbon garland with wire so it is easy to twist around the tree.
*Run at an angle around the tree: 2-3 times around a 6′ tree and 3-4 times around a 9′ tree.


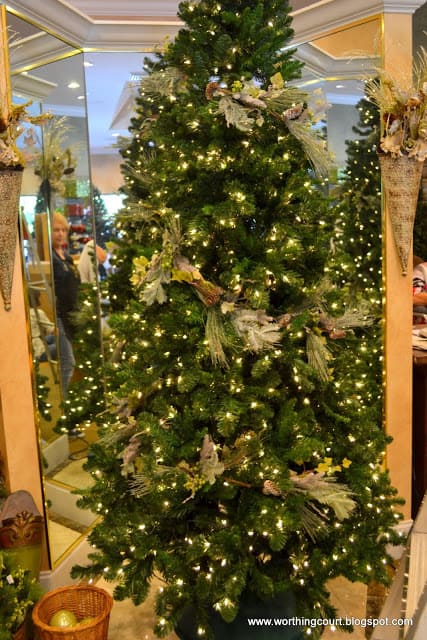


I did this with our tree last year. The angel even had a burlap dress...very country chic :):


How to decorate a Christmas tree via Worthing Court blog

Step 3: Add oversized ornaments and decorations.
 *Use 2-3 oversized items on a 6′ tree and 3-4 items on a 9′ tree.
*Lanterns and/or urns work great on a tree.  Just remember to make sure they are sturdily wired in place and add filler.  And don’t use a live flame on candles!
*Place the largest pieces toward the bottom of the tree.
*Mix the items up.  They don’t all need to match.

Christmas Tree ● Purple:

Step 4: Add ornaments.
 *First, place larger ornaments on the inside of the tree for added dimension.
*Next, place a few large ornaments toward the outside of the tree.  This is where you’ll want to put the ornaments that you want to showcase.
*Use long ornaments to help fill empty spaces.

Christmas Decorating Ideas: Varied shapes, patterns and colors by interior designer Sarah Dorsey. | @smdorsey:


Step 5: Tweak, tweak and then tweak some more.
 *Step back from your tree and it examine it throughout the process. Do you have too much of one colour in a certain area? Have certain styles of ornaments clumped together? Does the decor look even/balanced?
*Make tweaks as you go.
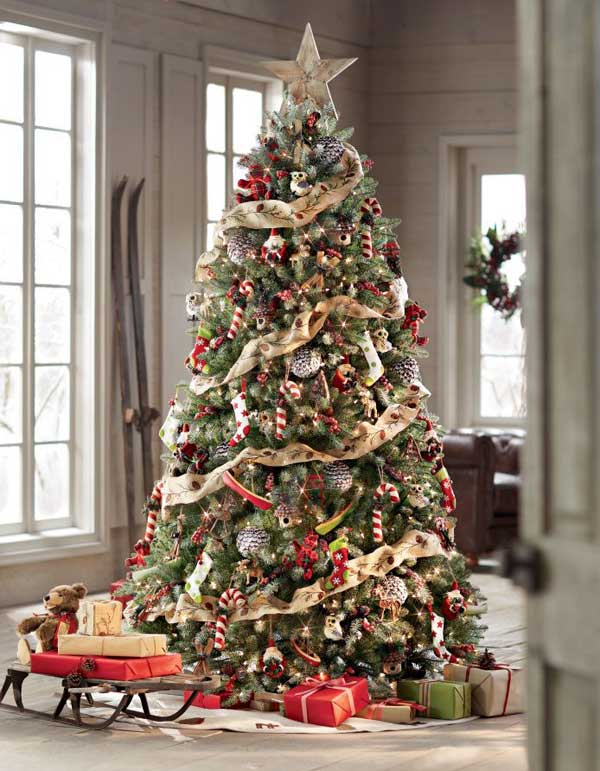

Step 6: You’re finished!
 Now pat yourself on the back and enjoy the oohs and aahs of your family and friends!


Labels: , , , ,

Wednesday, November 28, 2012

How to Decorate a Christmas Tree

So I just finished decorating an office for the Christmas holidays.  the office is a converted old home from 1910 - so we wanted to keep a very traditional look for the decorations to stay true to the feel of the home/office.

The main floor has 12 ft ceilings so we were able to use a 9 ft tree (typical height for trees is 7.5 ft - since most homes have 8 ft ceilings).  We went to Home Depot to purchase the tree (which was pre-lighted) and many of the decorations.  We went with a very warm colour concept of gold, red and chocolate brown.  We were able to find so much inspiration from the Martha Stewart Collection - where she has all the accents including bobbles, birds, beads and ribbon all in coordinating colours. 

I love a full looking tree so once we left the Home Depot, we headed out to HomeSense to look for some more ornaments for the tree.  I wanted lots of bling and I found it!  I found these amazing clip on red and gold, beaded butterflies - just stunning and oh, how they sparkle!  I also found some fabulous red apples with lots of sparkle and shine. I also found a very traditional brocade looking tree skirt.

Once we bought all the decorations that we could fit in the car, we set off to the office. We unloaded everything from the car and it was a bit overwhelming but when you have a plan - it makes it easier.


1. Start by setting up the tree and spreading the branches apart so the tree looks fuller

2. Set up the lights (test first for burnt out bulbs) or get a pre-lit tree (so easy!) and the tree skirt

3.  If using ribbon, start with that.  Start circling around the tree, start at the top.

4.  I like to start with the basic balls in various colours.  As you hang them up, be sure to step back now and then to make sure the colours and the balls are spread out evenly

5.  Move on to other decor items like clip on birds, or other hanging ornaments.

6.  Last the angel or start on the top (use a ladder, step stool or chair for some extra height)

For this office tree, I even purchased some beautiful boxes and placed them under the tree so it looked like there were gifts under the tree.

We also used a natural looking garland to wrap up the staircase.  Plus a stunning wreath in the same red, golds and chocolate brown colour theme on the front door. 


Labels: , , , , , ,

<data:blog.pageTitle/>

This Page

has moved to a new address:

http://kikiinteriors.com

Sorry for the inconvenience…

Redirection provided by Blogger to WordPress Migration Service